Dopplex ATP Ankle & Toe Pressure Kit
The Ankle & Toe pressure (ATP) Kit is a unique combination of the DMX Doppler, probes and accessories providing the Vascular, Diabetic or Lymphatic specialist with a system to aid the assessment of arterial disease and neuropathy. Our Arterial Plethysmography (APPG) probe easily attaches to the DMX Doppler unit by simply swapping your Doppler probe with it’s adaptor.
This pages shows you how to set up the ATP kit for first use.
Assemble the Tubing
Please insert the batteries in the Doppler. They may need charging for the first use (if using rechargeable batteries).
When you first get your ATP Kit if you want to use the toe pressure component you will need to assemble that piece.
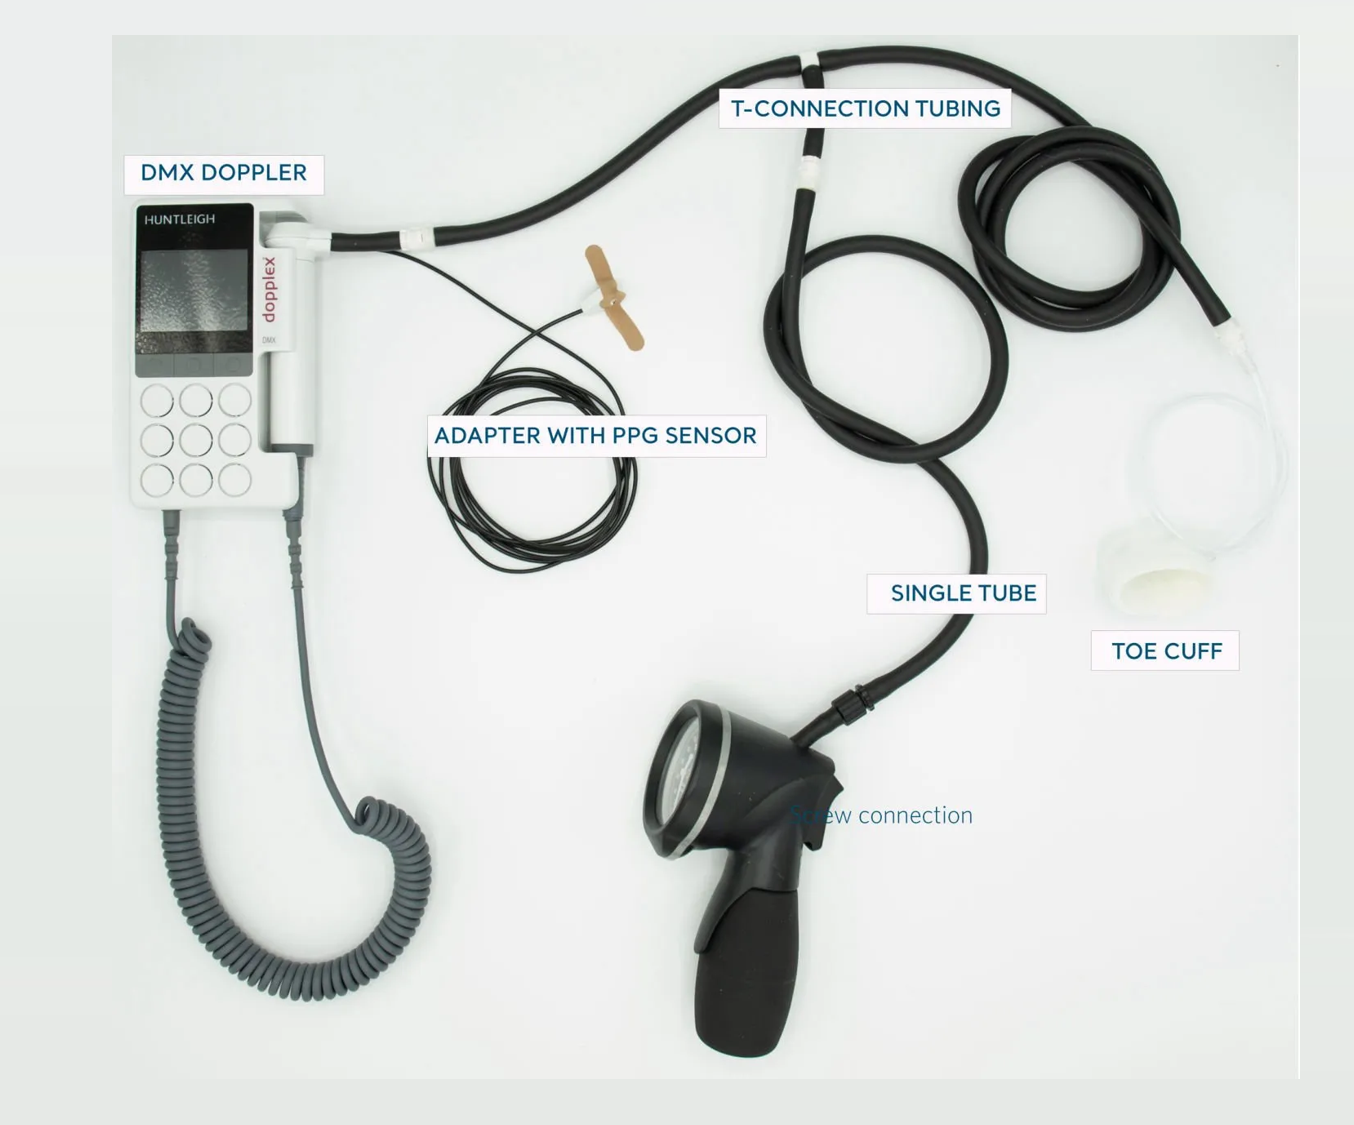
Setting up Tubing
Testing the Patient – Toe Pressure
This video is about 2 minutes long; below are step by step instructions.
Step by Step Instructions
Patient Testing – Toe Pressure
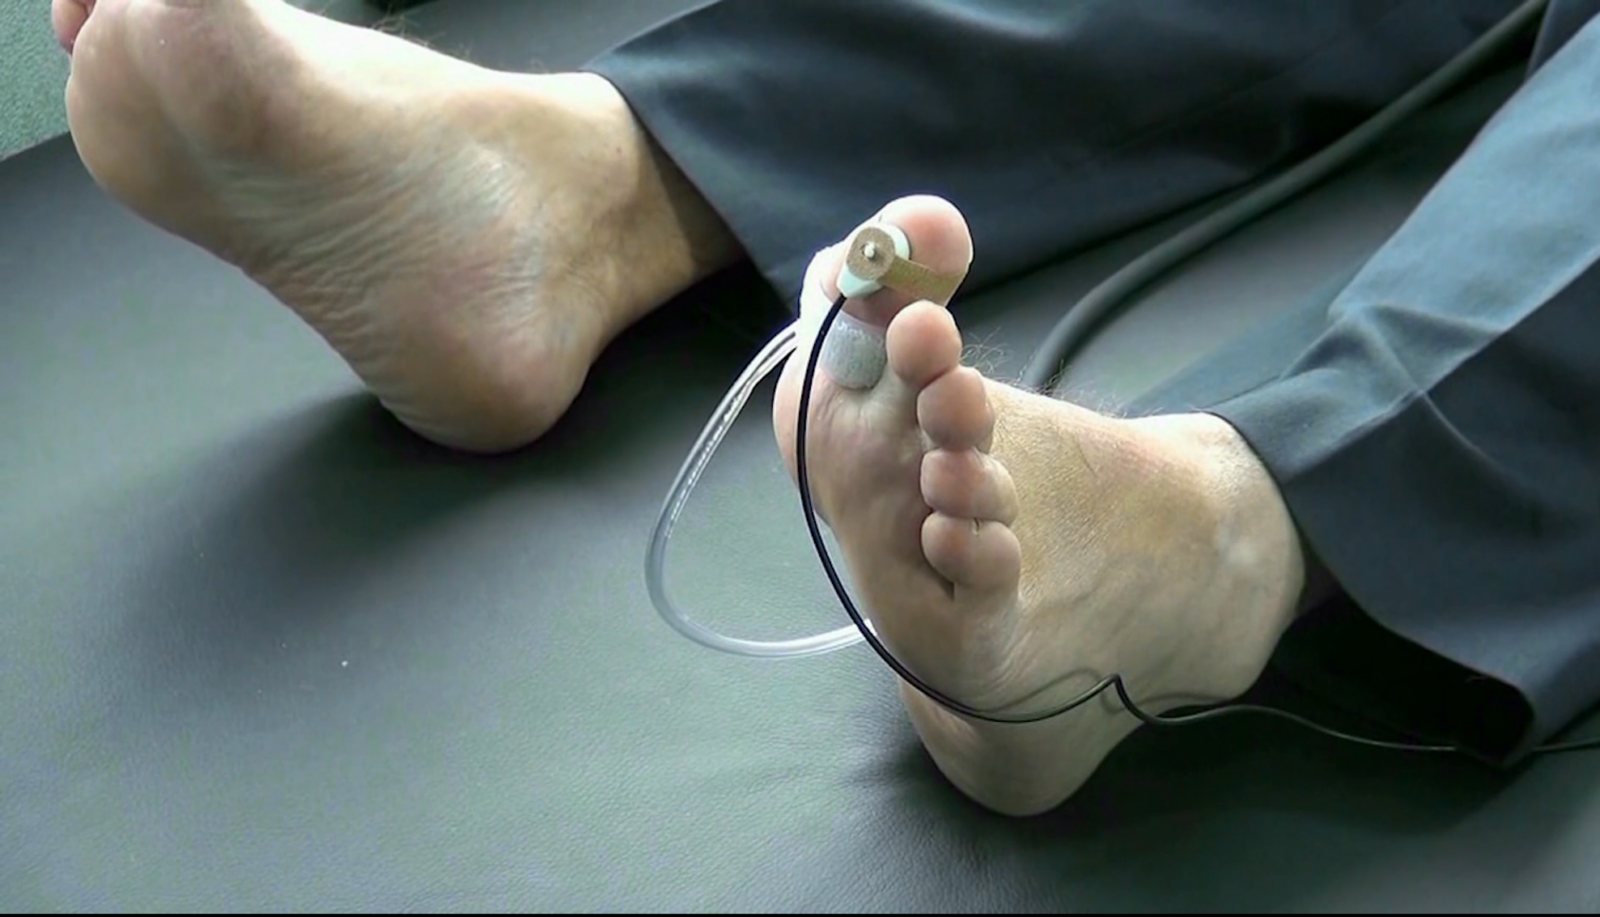
1. Place Toe Cuff and PPG Sensor
Once you have the Dopplex PPG system connected. The next two steps are taping the PPG sensor to the toe, and wrapping the toe cuff.
The hole in the strip goes over the protrusion on the PPG sensor.
Wrap the toe; the black side should face the skin.
When securing the toe sensor make sure it is not applied too tight, as well too loose is also a problem.
2. Start Doppler – Wait for Waveform
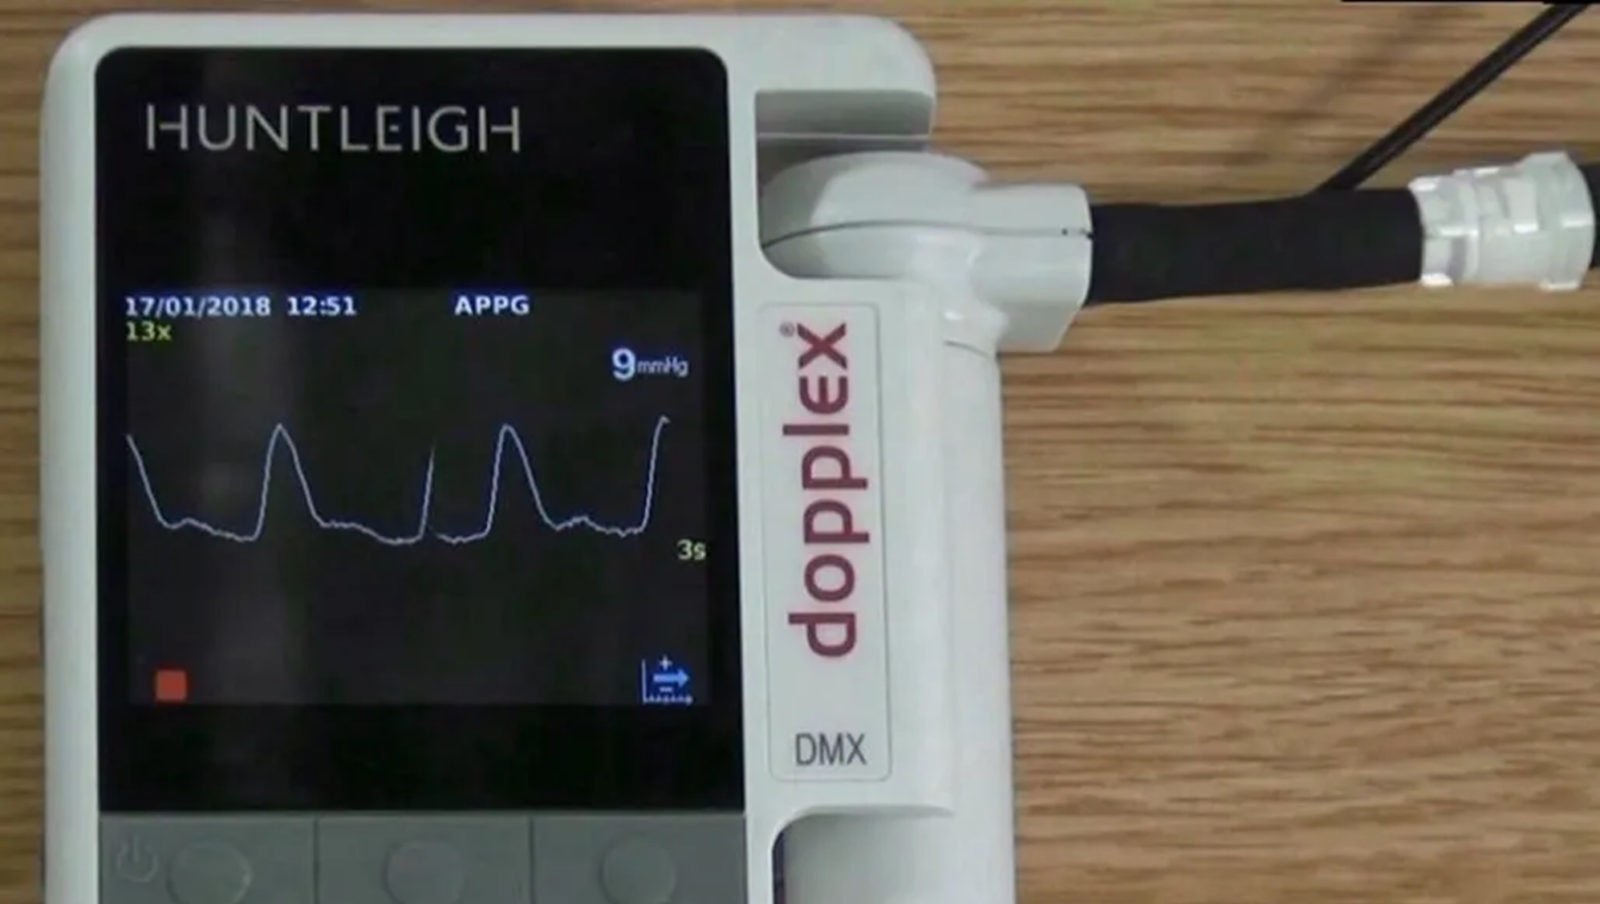
Power on the DMX and wait for the signal to appear and stabilize.
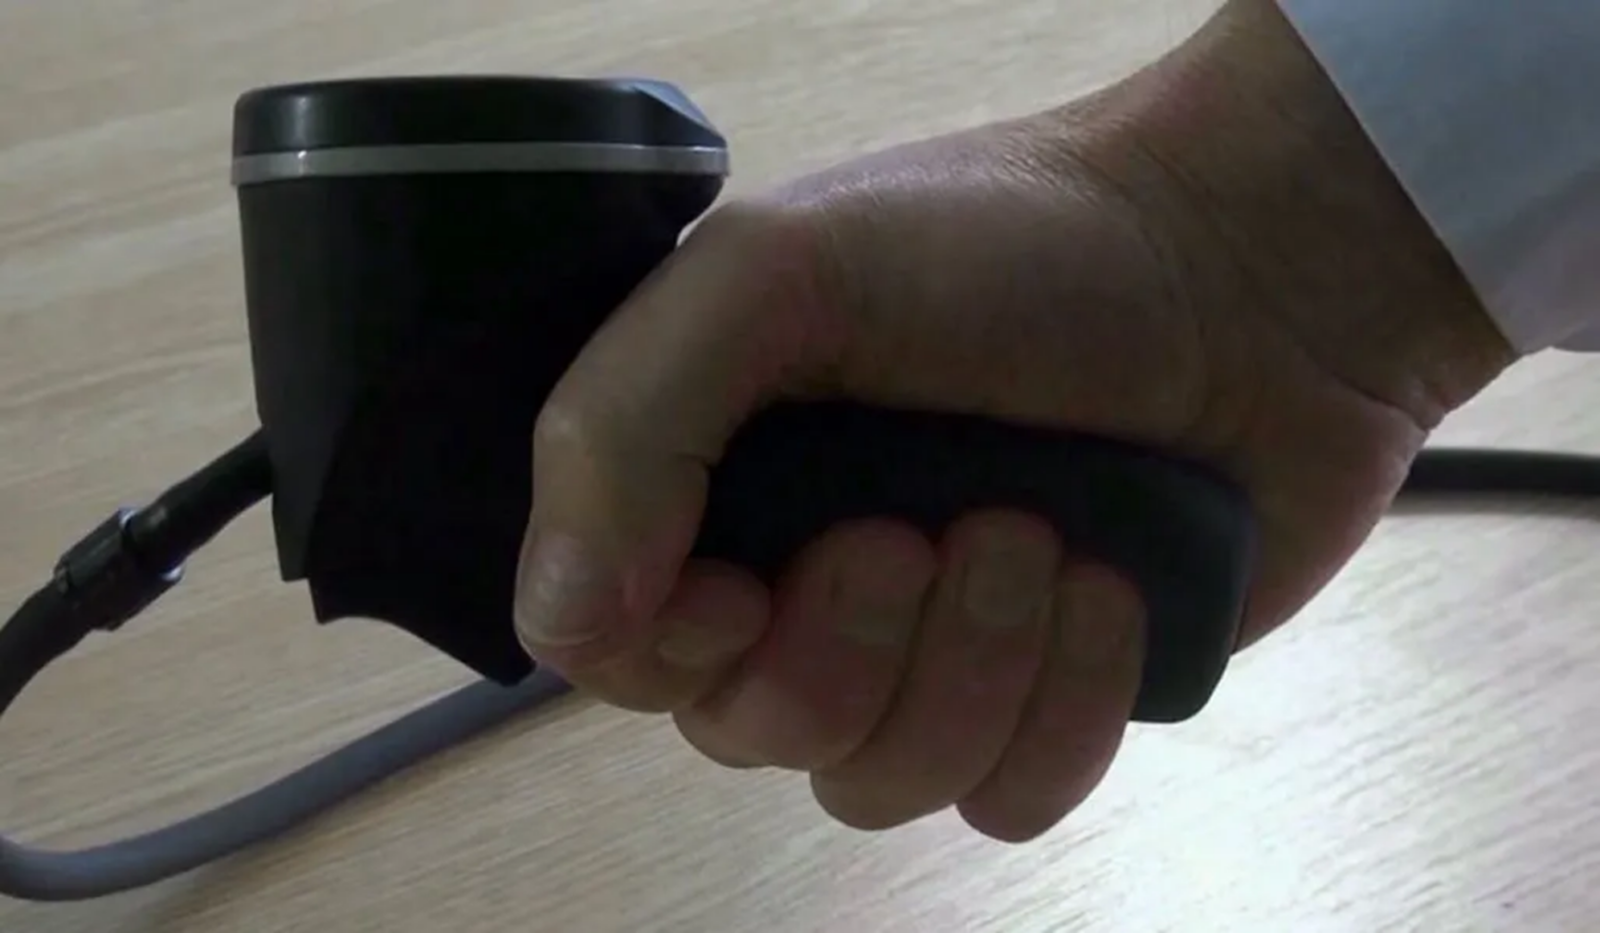
3. Pump Up Toe Cuff
Increase the pressure in the toe cuff to progressively restrict blood flow.
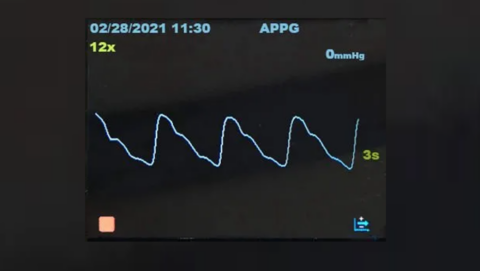
Images below of what the screen will look like.

Start pumping; after a screen of normal waveforms
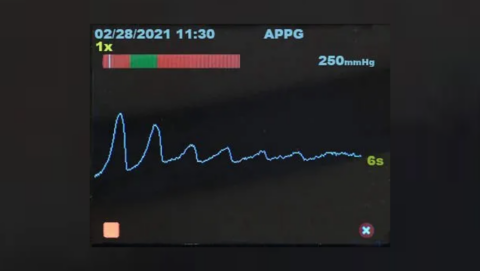
As you pump the trace will go flat (blood flow is cut off)
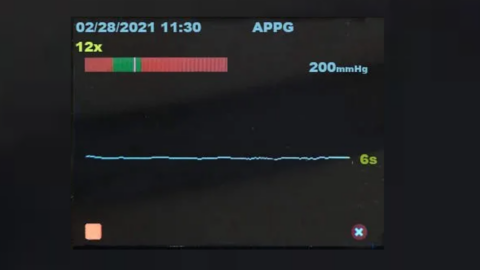
This shows blood flow is completely restricted. (20-30mmHg above systolic)
4. Release Pressure – controlled; using the built in indicator
Release pressure being guided by keeping the white bar in the green band.
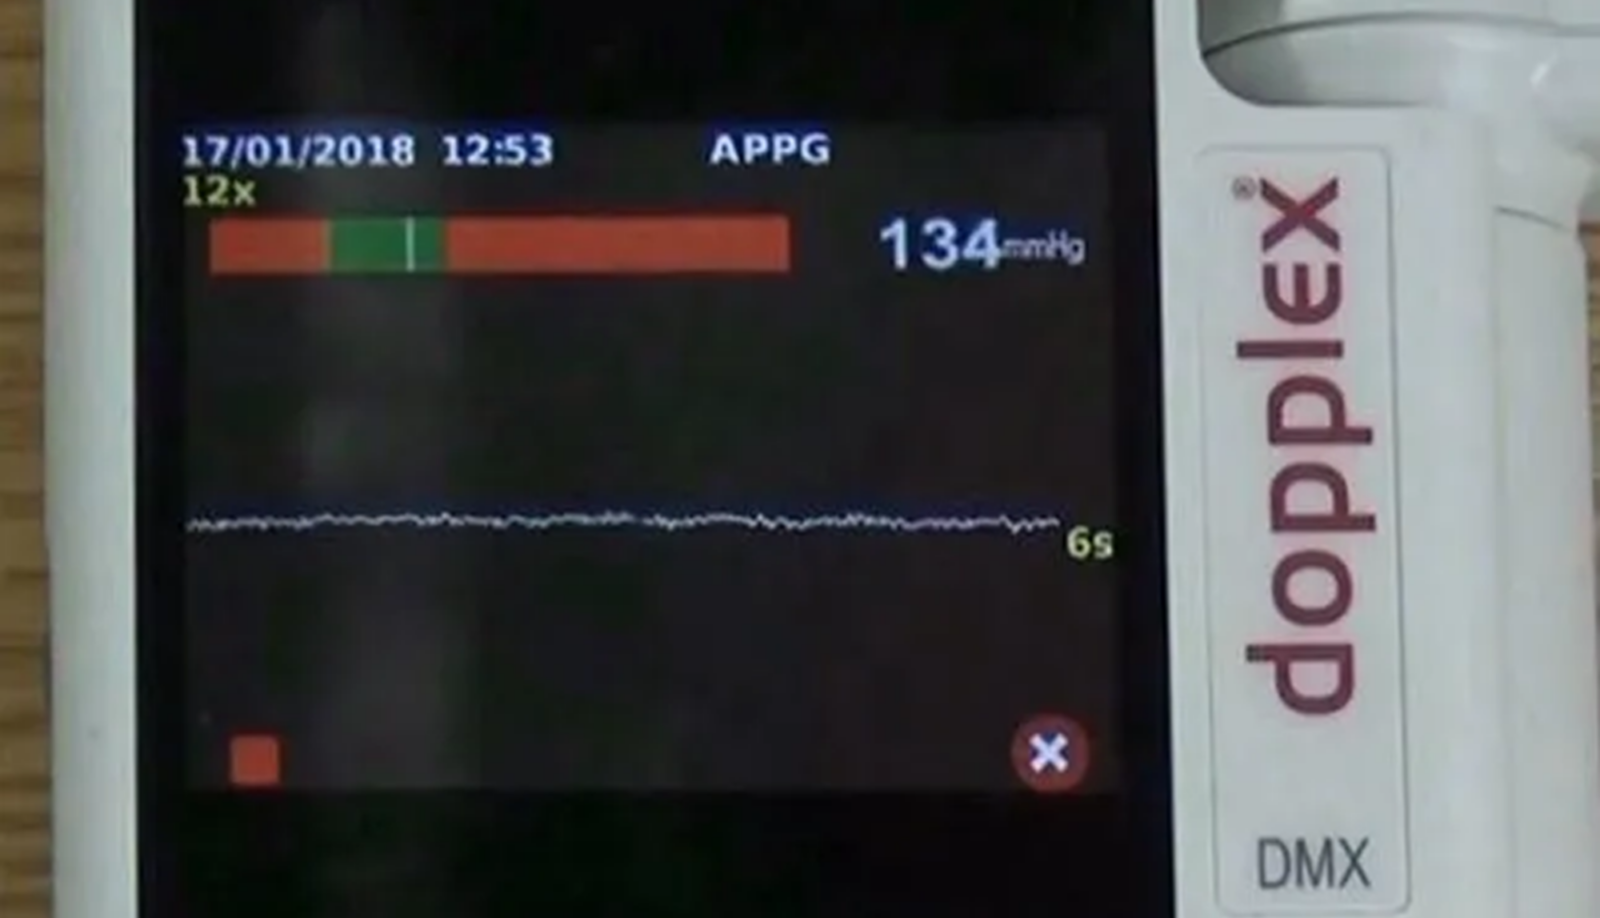
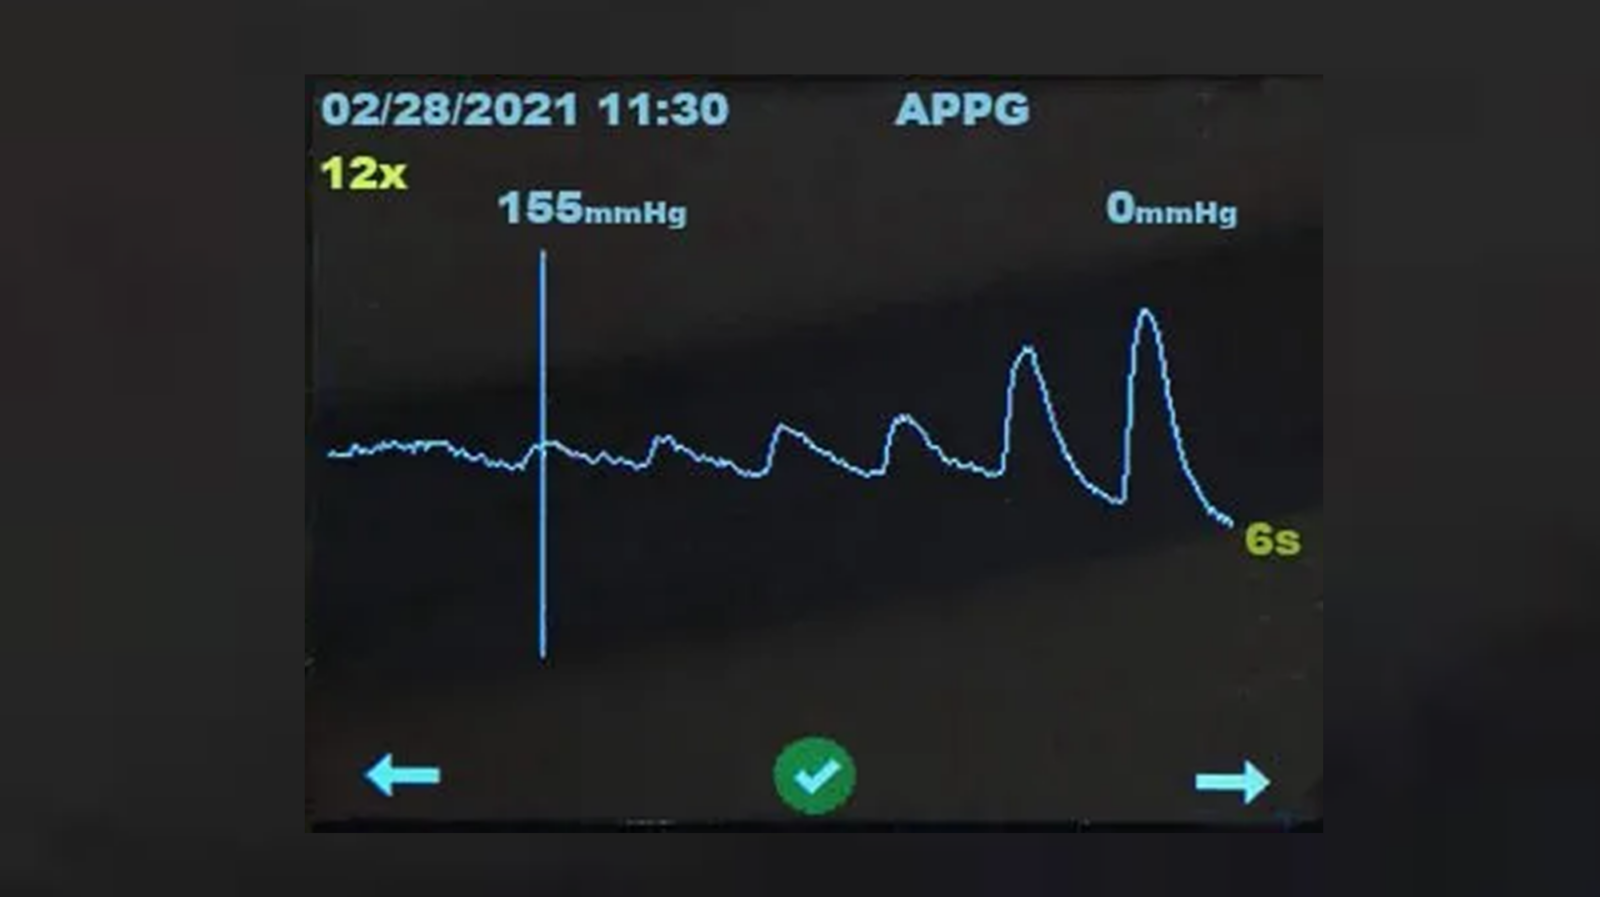
5. Identification of Systolic Pressure
The system will identify systolic pressure.
If the identification line is not positioned where the waveform indicates pulsations returned, you may adjust the “white marking line” by using the arrows at the left and right.
As you move the line, the systolic pressure will change.
The “green” check mark is used to move to the next step.
6. Release all Pressure
Use the trigger to release all pressure.
Ankle & Toe Pressure Kit Trouble Shooting Guide
Step by Step Instructions
Patient Testing – Standard ABI – Arms and Ankles
Testing the Brachial Systolic Pressure
The standard ABI traditionally starts with testing the brachial systolic pressures of both arms. The higher of the two brachial systolic pressures is used in the calculation.
Testing the Other Brachial Systolic Pressure
Step by Step Instructions
Testing the Ankle
Testing the Ankle – Dorsalis Pedis
Testing the Ankle – Posterior Tibial Artery
The higher of the two readings between the Dorsalis Pedis and Posterior Tibial Artery is used for the calculation.